
【English】Setting,Sampling and Testing 試験仕様設定・サンプリング・試験実施方法
検査器単体での試験仕様設定、サンプリング、試験実施方法を英語にてご説明いたします。
検査器単体での試験仕様設定、サンプリング、試験実施方法を英語にてご説明いたします。
In this video, you can learn how to set testing spec, create new testing data, and testing in stand-alone with NMG+.
【英語】試験仕様設定 サンプリング 試験実施方法
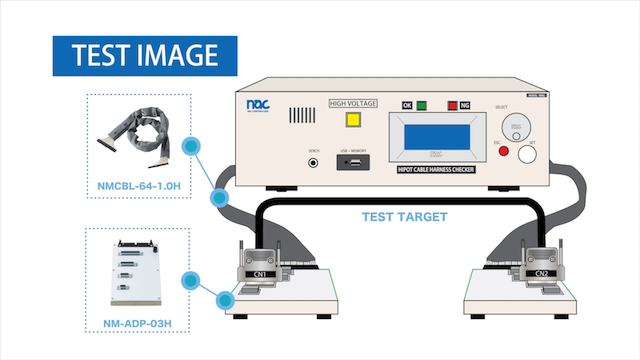
[動画テキスト]Setting and Test in stand-alone testers
In this video you can learn how to set the test specs ,prepare test data and test in stand-alone with NMG+.
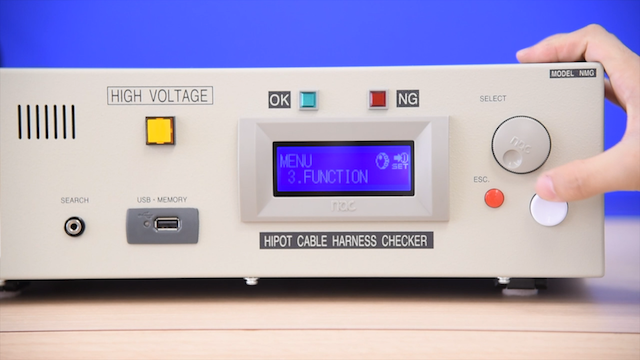
①Setting specs
Please turn on your tester.
Select 3 Function with the dial and set button.
Move to set specs.
You can finish the settings after you select all spec with set button.
If you quit it with the escape button, it will not be reflected.
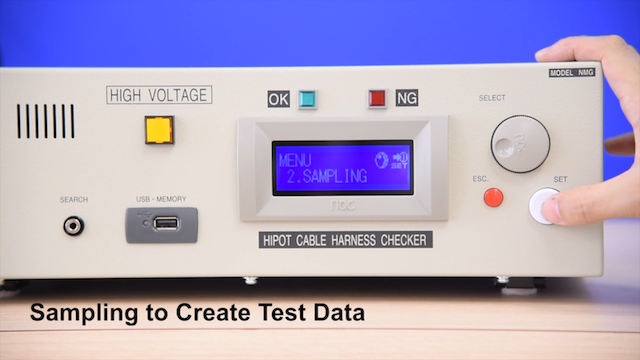
②Sampling for creating testing data
Please back Menu and select 2, sampling.
Please connect test target to the tester and press set button for making data.
You can check wires with turning the dial.
After your confirmation, complete to make the test data by pressing the set button.
Select the save data number and name the new data.
You can complete it by selecting “end”.
③Testing with new testing data
Let’s test with the new data.
Please choose 1, Test, from the main menu.
You can check the data you made memorized in the devise.
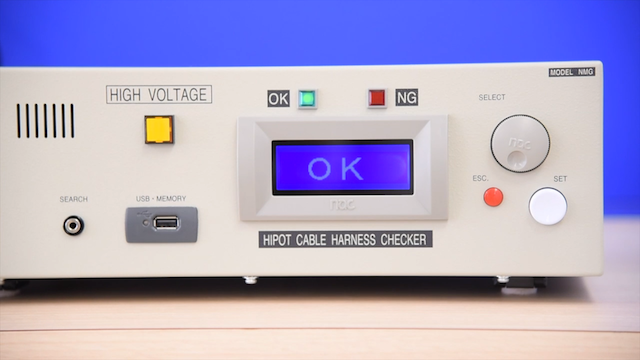
Start the test to press the set button.
If you pass it shows OK.
If you fail it shows NG. Then you can check the detail with the dial.
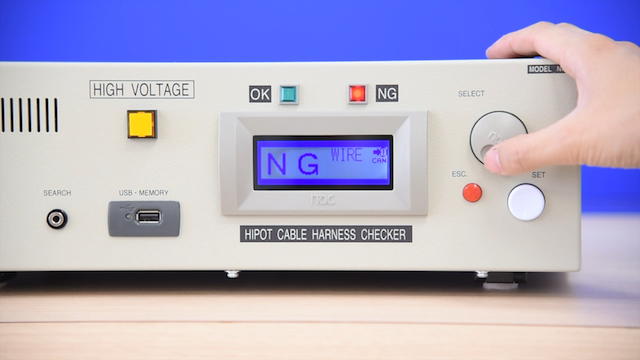
In the NG result, / means open.- means short.
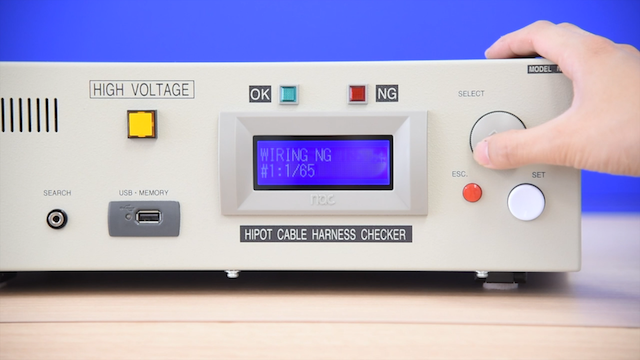
/ means open.
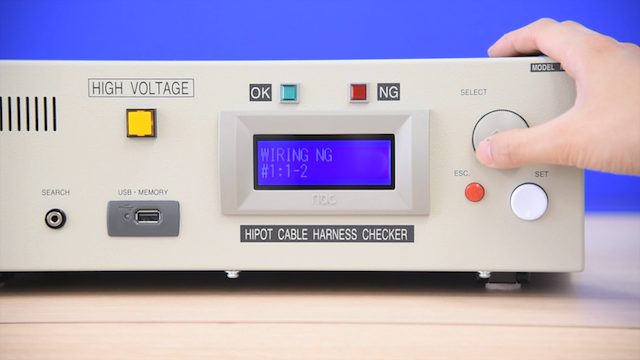
- means short.
④Modifying testing data
After setting and making test data, you may need to modify the data.
Then please select the data from ”test”.
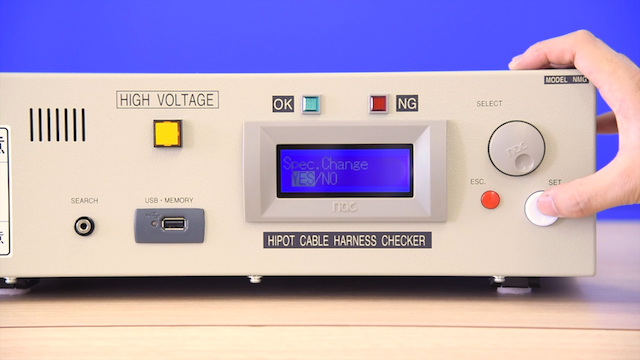
Please turn the dial counterclockwise while the machine showing test start.
You can open Spec change mode.
Please modify the data again.
You can finish the settings after you select all specs with set button.
Thank you for watching this video. We provide various Wire Harness Testers. We have solutions for better testing. For more information please visit our website and contact us.


